 JuicyTalk
Hip2Save may earn a small commission at no extra cost to you via trusted partners and affiliate links in this post. Prices and availability are accurate as of time posted. Read our full disclosure policy here.
Turn unique glass and ceramic finds into thoughtful first-class gifts by making easy homemade candles.
Let me show you how easy it is to DIY candles!
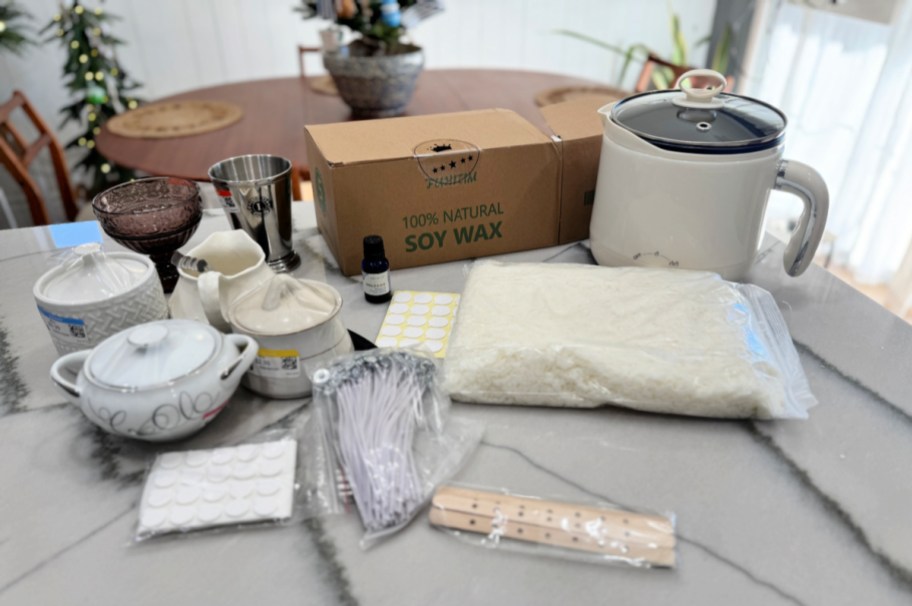
There’s something magical about turning overlooked thrift-store finds into cozy Christmas gifts! With a little soy wax and a simple wax warmer from Amazon, you can transform tea cups, ceramic bowls, vintage glassware, and even old metal tins into custom candles your friends and family will swear came from an artisan boutique.
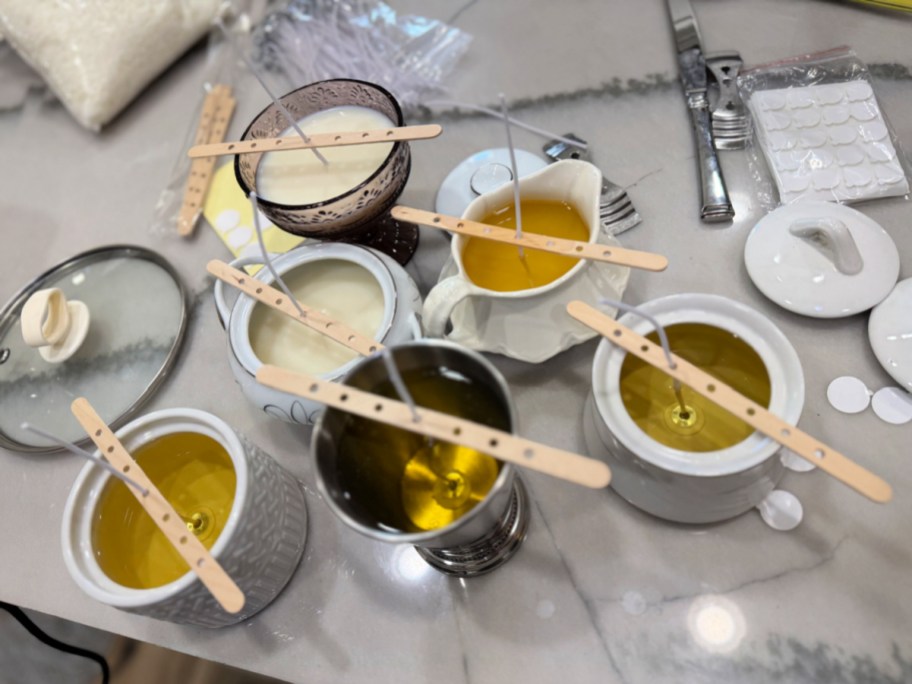
And the best part? They cost a fraction of what you’d pay in stores. Talk about a very merry budget win. I was able to make 8 candles with about $20 worth of soy wax.
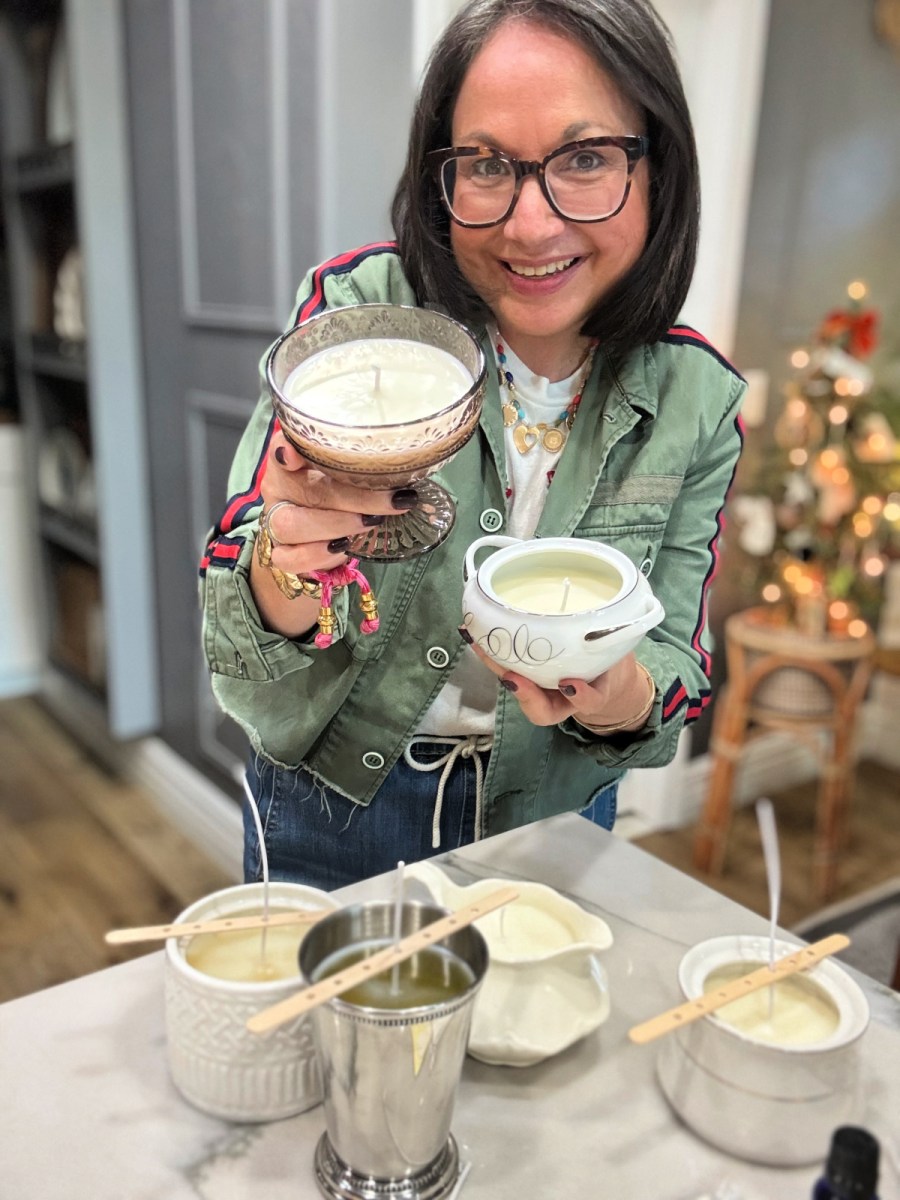
Making homemade scented candles has been on my to do list for years!
Last year I bought a wax warmer with accessories from Amazon and then failed to use it. For some reason, I was thinking this could be difficult or messy for a beginner and turns out this was very easy and fun! The warmer makes it mess-free and convenient.
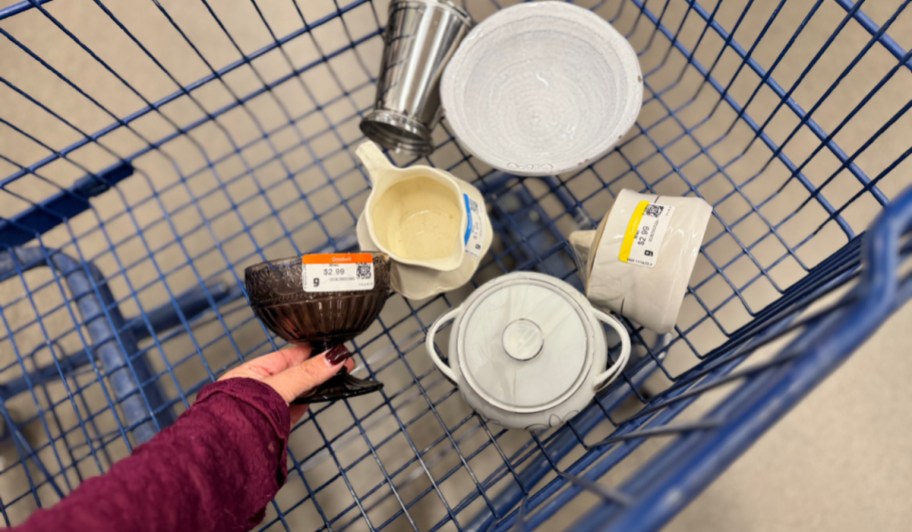
Why Thrifted Vessels?
Thrift stores are treasure troves of candle-worthy containers. Think:
- dainty floral teacups
- elegant glass punch cups
- chunky ceramic ramekins or bowls
- retro copper or metal tins
These pieces are usually under a couple of dollars and instantly give your candles personality. Each one is unique, just like the person you’re gifting it to!
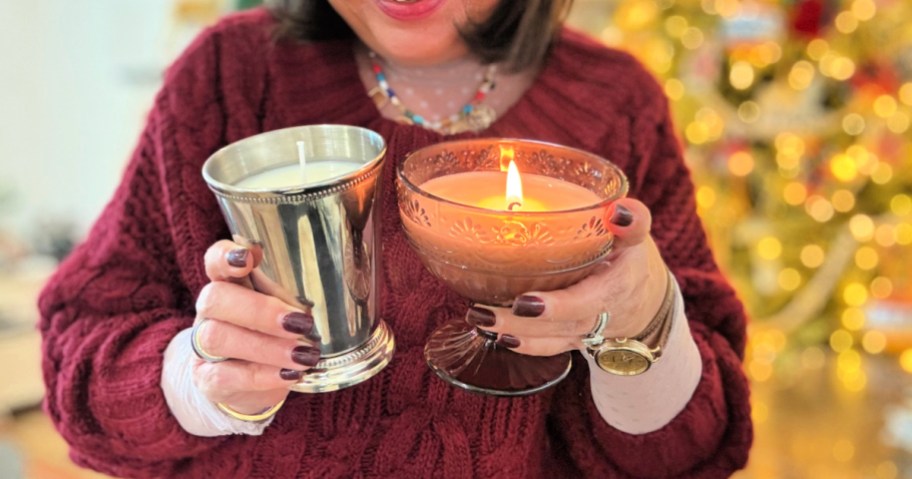
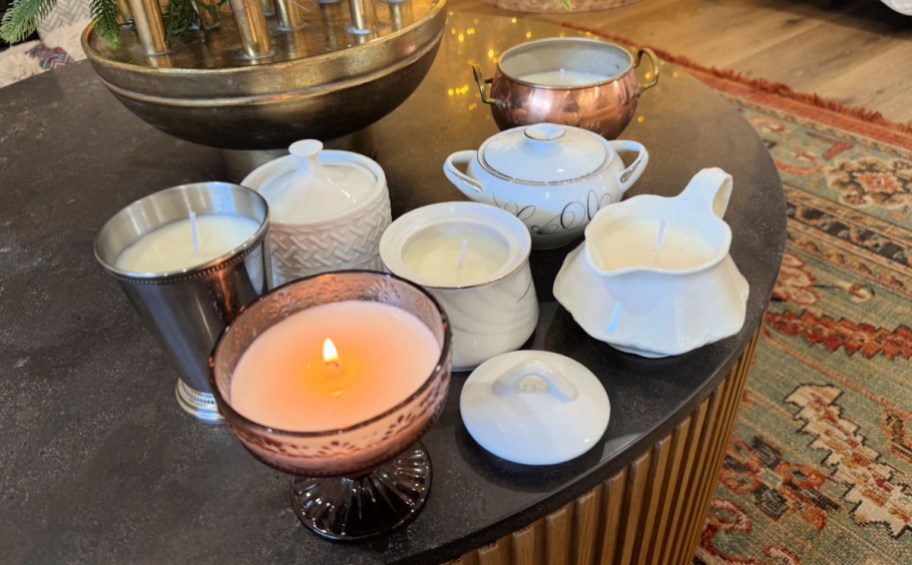
How to Make Homemade Candles
1
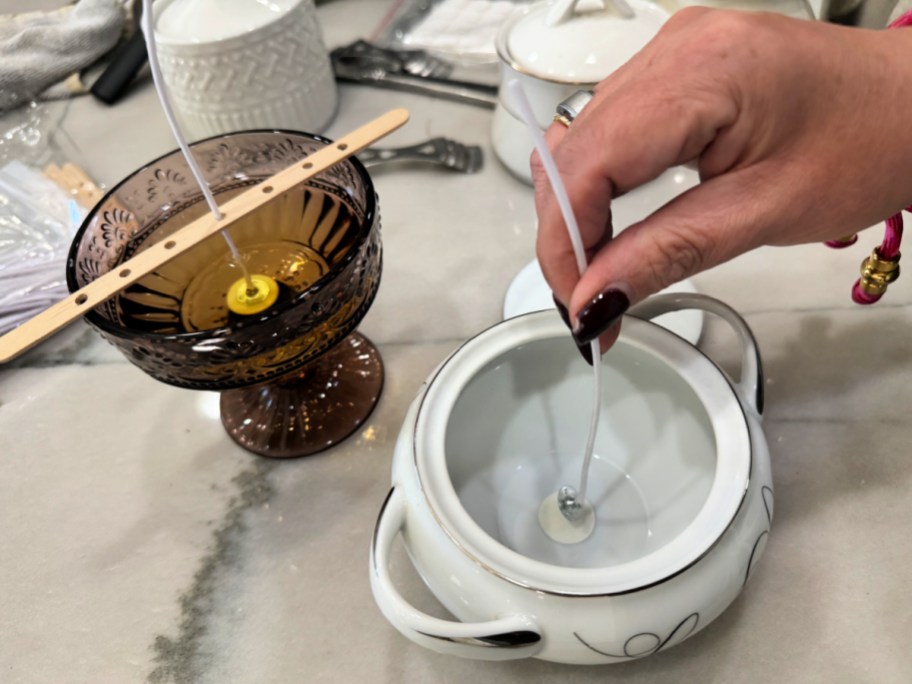
Prep your vessels. Give everything a good wash and dry. Stick your wick to the center of your cup or container.
2
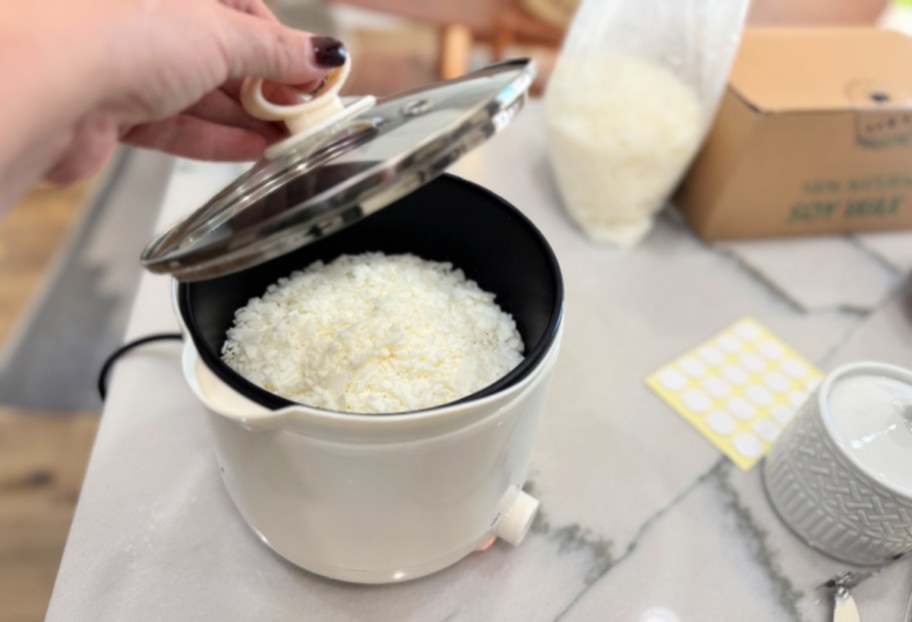
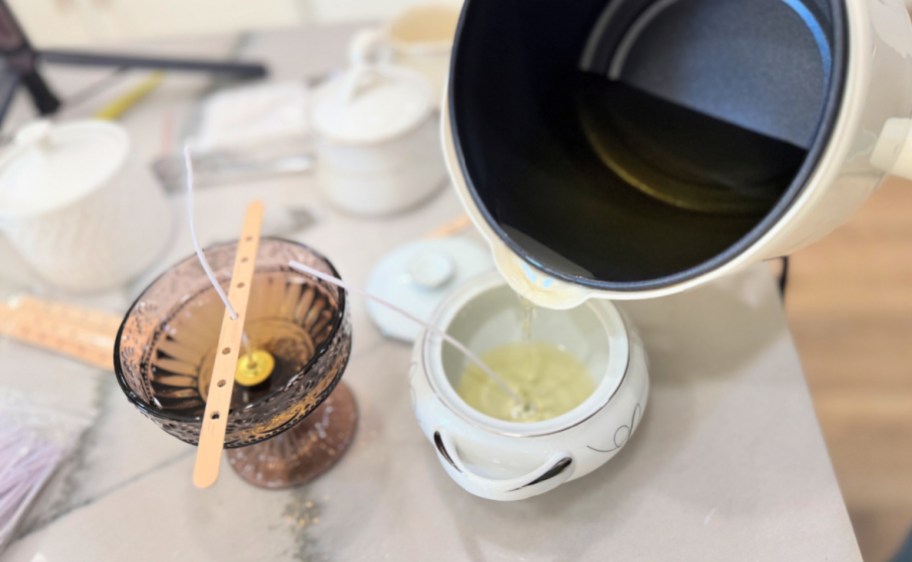
Melt the wax. Add soy wax flakes to your wax warmer and let them melt down slowly. Soy wax melts beautifully and gives a clean, soft burn.
3
Add fragrance. Once the wax is melted, remove from the heat and stir in your favorite scent. Just a few drops go a long way.
4
Pour the magic.
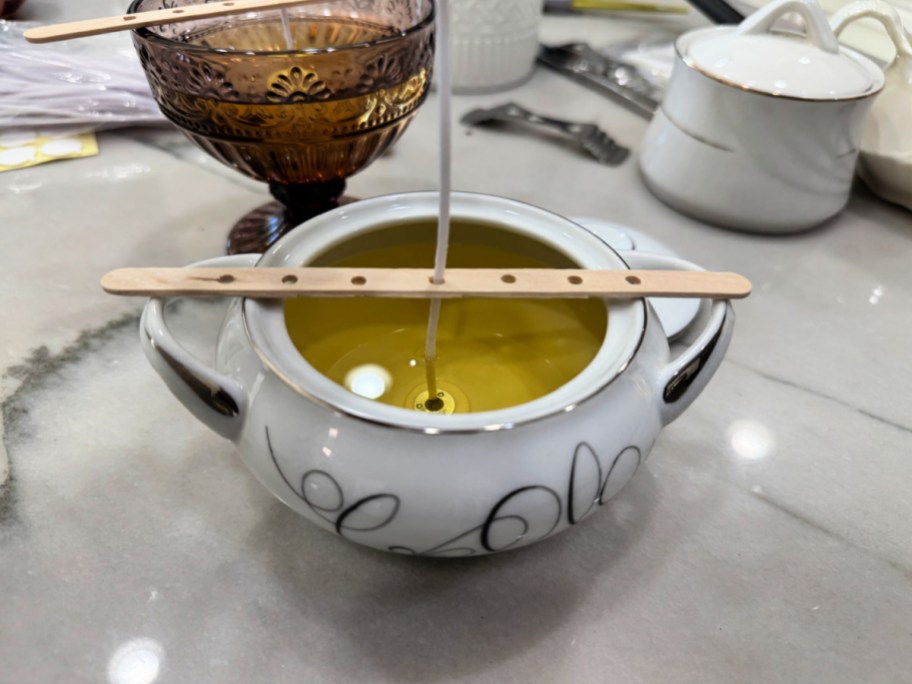
Carefully pour the warm wax into your thrifted vessel. Leave a little room at the top. Use a wick holder laid across the top to keep the wick standing upright. Let it sit undisturbed until fully set (usually a couple hours).
5
Trim the wick. Once the candle is firm and white, trim the wick to about ¼ inch. It’s suddenly looking very “boutique chic,” isn’t it?!
Extra tips for making homemade soy candles:
- Don’t have a wax warmer? Make a quick double boiler on the stovetop. Just place a heat-safe pouring pitcher (or a metal bowl) inside a saucepan filled with a couple of inches of water. Heat on medium until the wax melts slowly and evenly. This prevents scorching and gives you a smoother finish.
- Let candles cure for the best scent throw. Soy candles smell stronger if you let them cure for a couple days before gifting. The longer cure time lets the fragrance fully bind with the wax.
- Package up your candles to gift! Use twine, ribbon, or cellophane to wrap them up. Each candle ends up being totally one-of-a-kind, thoughtfully handmade, and budget-friendly. It’s the kind of gift people actually keep and brag about.
Also, consider refilling your existing candles!
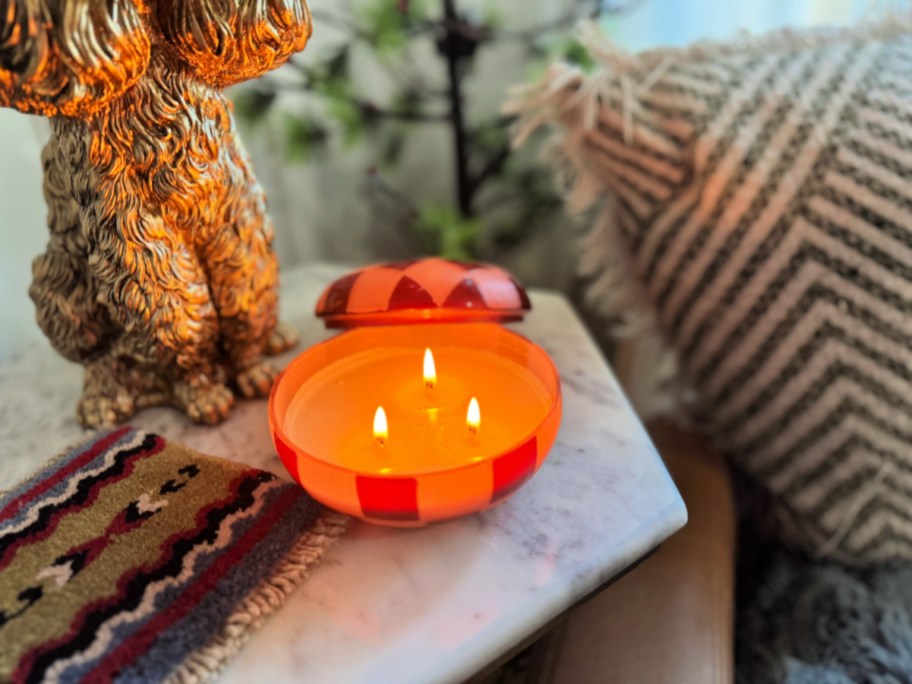
I absolutely adore this Anthropologie candle and was sad when it was done burning, so I refilled it! I love that I now feel confident refilling my candles at home with scents that I can personalize too.
Have you made candles before? Share with us in the comments your tips for success!
About the writer:
Lina has a Bachelor’s Degree from Northern Arizona University with 11 years of blogging and photography experience having work featured in Today.com, Martha Stewart, Country Living, Fox News, Buzzfeed, and HGTV.
